How to Make Necklaces With Beads
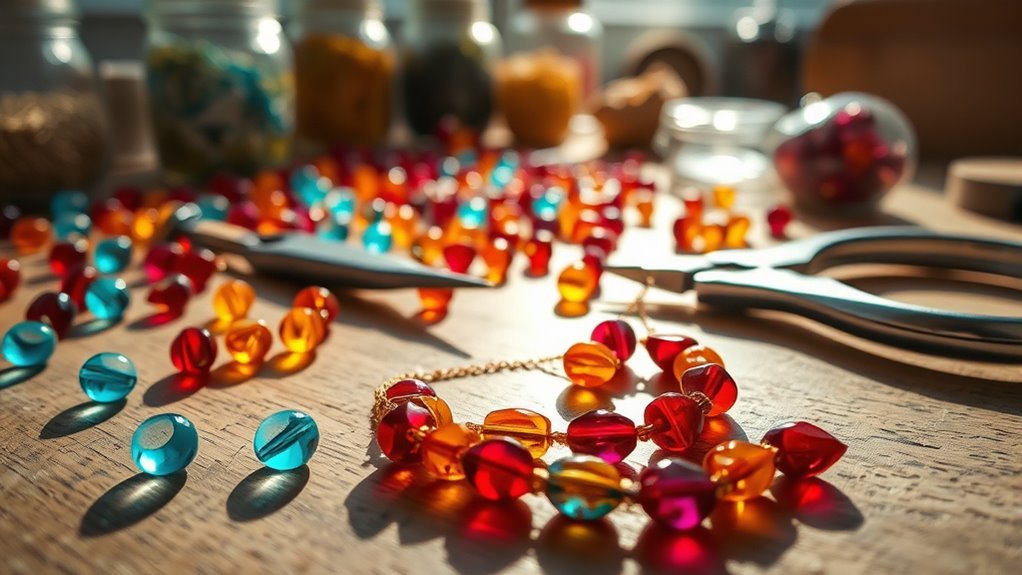
To make a beaded necklace, you’ll want to start by gathering all your supplies, which include colorful beads, beading wire, crimp beads, and a clasp.
Next, lay out your bead design on a bead board. This step is crucial for balancing colors and shapes effectively.
Once you’re satisfied with your design, string the beads securely onto the wire. Remember to leave some extra wire at the ends for attaching the clasp later.
Now it’s time to fasten the clasp neatly using crimp beads and pliers.
You can also add spacers or focal beads to personalize your look even more.
Keeping your beads organized and maintaining a thoughtful design will help you create beautiful, unique necklaces with ease.
With practice and a few detailed tips, you can perfect your craft and make stunning jewelry.
Key Takeaways
- Gather quality beads, beading wire, crimp beads, clasp, and pliers for assembling a durable necklace.
- Plan your design by selecting bead types, colors, and layout using a bead board for balance.
- String beads in the chosen pattern, leaving extra wire for attaching the clasp securely.
- Attach the clasp using crimp beads and flatten crimps with pliers to lock the wire ends.
- Enhance appearance with crimp covers, bead spacers, and personalized charms for texture and style.
Supplies and Tools Needed
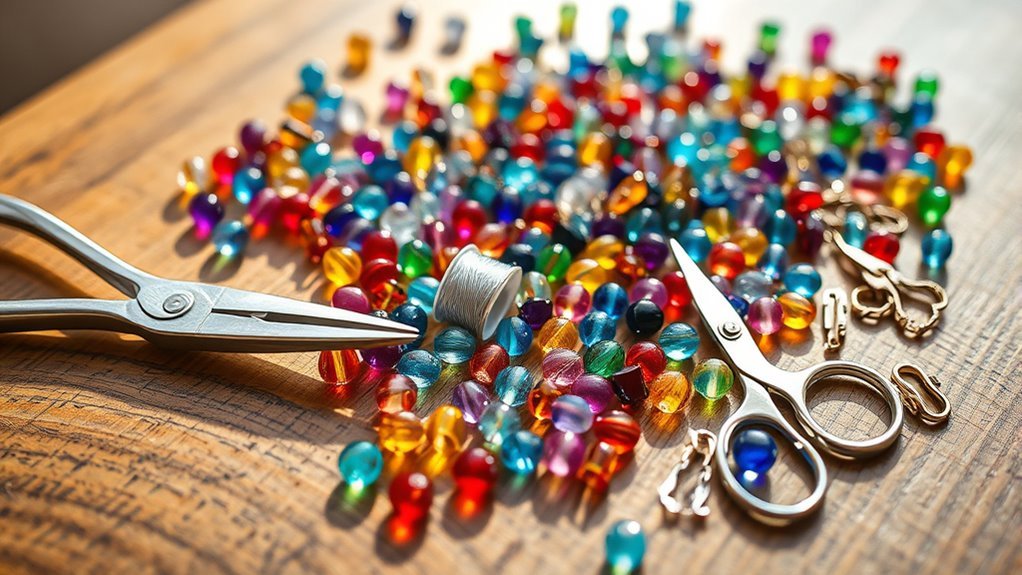
Before you begin making your necklace, gather essential supplies like colorful seed beads, larger centerpiece beads, freshwater pearls, beading wire, crimp beads, and a clasp such as a 6mm jump ring for closure. You’ll want quality beading wire, like Beadalon 7 Strand, for durability and flexibility. Crimp beads are necessary to secure the ends of your wire and hold your design together. Besides these, get chain-nose jewelry pliers and wire cutters to easily manipulate and trim the wire. A bead board can help you organize your beads and measure your necklace length accurately. Optional tools like a bead organizer keep your beads sorted and accessible, making the process smoother. With these supplies and tools ready, you’ll be set to start crafting your necklace confidently.
Choosing and Buying Beads
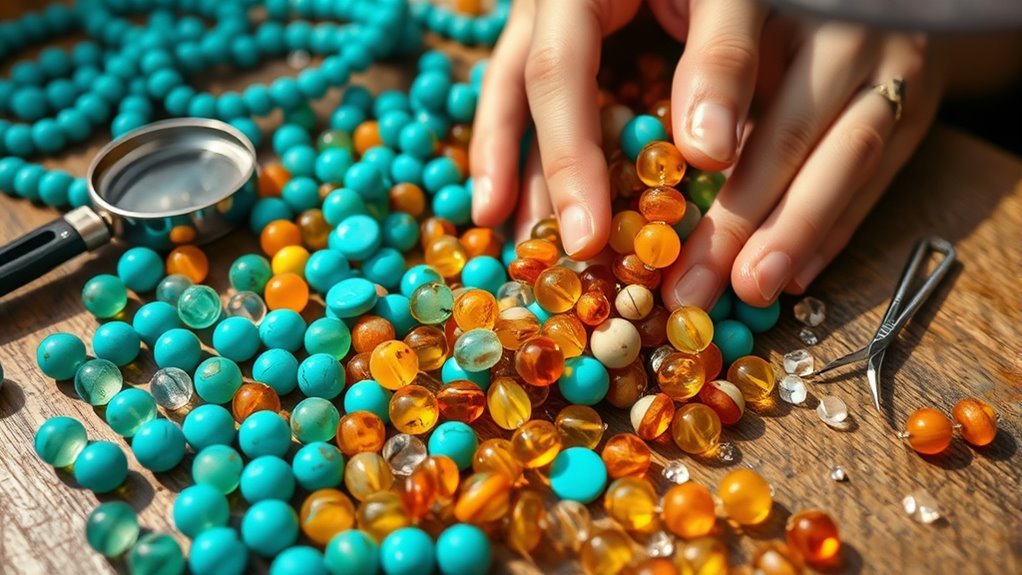
When choosing beads, think about the types you want and how their colors will work together to create your necklace’s look.
You can pick from natural stones, glass, or plastic beads, each offering different textures and styles.
Check out local craft stores or online shops like Etsy to find the perfect beads for your design.
Happy beading!
Bead Types Overview
Selecting the right beads shapes the foundation of your necklace design. When you pick beads, consider whether you want a fixed pattern or a random assortment to add visual interest. Glass beads offer vibrant colors that make your piece pop, while seed beads provide delicate details perfect for intricate designs. Natural stones like amethyst and turquoise give unique textures and can be more affordable than pre-made options. Think about the shape, size, and texture of each bead, as these factors influence the necklace’s overall feel. Freshwater pearls add elegance if you want a classic touch. By carefully choosing your bead types, you can create a necklace that reflects your style and stands out with both texture and color.
Color Scheme Selection
Color schemes set the mood and style for your necklace, so you’ll want to pick hues that resonate with your personal taste. When choosing beads, decide if you want contrasting colors for a bold look or monochromatic shades for a subtle, cohesive design. Consider the shape, size, and texture of your beads, as these add depth and interest to your beaded necklaces. You can stick to a fixed pattern or mix randomly for a unique feel. Also, think about materials—natural stones offer a cost-effective and authentic option, while glass beads bring vibrant colors and shine. Selecting the right color scheme and beads upfront guarantees your necklace reflects your style and stands out beautifully.
Where To Purchase
Finding the right beads for your necklace starts with knowing where to shop. You can find a variety of beads at local craft stores like Michaels or Hobby Lobby, which offer options like opalite, pink dyed jade, and freshwater pearls. These natural stones provide a unique aesthetic and are budget-friendly compared to pre-made necklaces. For something truly special, explore online platforms like Etsy, where artisans sell distinctive beads and charms. When selecting beads, consider their shape, size, and texture to give your necklace visual interest. If you want to add charms, check out reputable sources such as Hart Jewelry, Mejuri, or Pandora for quality and unique designs. Choosing beads thoughtfully guarantees your necklace reflects your personal style perfectly.
Preparing Your Necklace Design
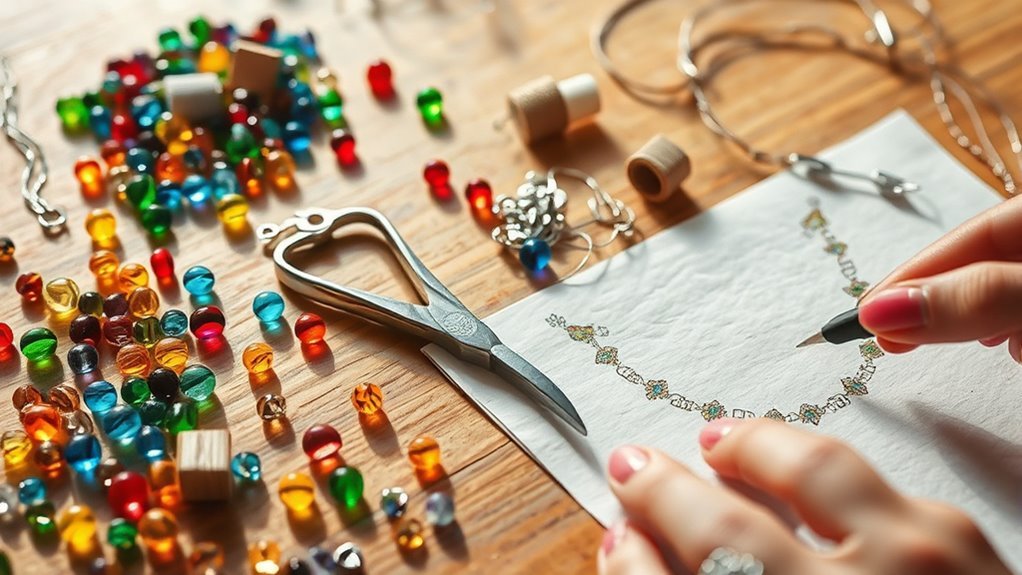
Start by choosing whether you want a fixed pattern or a random mix for your beads.
Measure the necklace length carefully and lay your beads out on a beadboard to see how they’ll look.
Organize your beads efficiently to keep the design balanced and make stringing easier.
Selecting Bead Patterns
Many bead patterns can bring your necklace to life, so deciding between a fixed design or a random mix is essential. Start by choosing beads that suit your style and plan their placement on the wire. A Simple Beaded necklace benefits from balanced spacing—use larger beads in the center and smaller ones toward the ends. Experiment with colors and textures to add depth. Use a bead board to visualize and adjust your pattern before stringing. Here’s a quick guide to help you select bead patterns:
| Pattern Type | Bead Arrangement | Visual Effect |
|---|---|---|
| Fixed | Repeating sequence | Symmetrical, tidy |
| Random | Mixed sizes and colors | Eclectic, lively |
| Center-Focused | Large bead centerpiece | Balanced, eye-catching |
| Textured Mix | Varied shapes and finishes | Dynamic, interesting |
| Monochromatic | Shades of one color | Elegant, unified |
Measuring Necklace Length
A well-measured necklace sets the foundation for a comfortable and stylish piece. When measuring necklace length, aim for about 45cm (18 inches), with the clasp section taking up roughly 2.5cm (1 inch). Use a beadboard to lay your beads towards the desired length, ensuring even spacing and balance.
To get it right, consider these steps:
- Lay beads alongside a tape measure or use beadboard channels for precise placement.
- Leave about 10cm of extra wire to attach the clasp and make final adjustments.
- Adjust the necklace length by adding or removing beads while keeping the design balanced.
This approach helps you create a necklace that fits well and looks polished.
Organizing Beads Efficiently
Efficient bead organization lays the groundwork for a smooth necklace-making process. Start by sorting your beads as well by color, size, and type into separate compartments or trays. This makes it easier to find the bead next in your design. Use a bead board to lay out your pattern, helping you visualize the final look and ensuring even spacing. Measure the length of your necklace on the board, adjusting by adding or removing beads as needed. To keep beads from slipping off the wire while you arrange, use bead stoppers. Don’t forget to jot down any specific patterns or sequences on a notepad. Finally, when stringing, secure your design with a crimp to hold beads firmly in place, ensuring a polished finish.
Stringing and Assembling the Necklace
Start stringing your beads according to the pattern you’ve planned, making sure to maintain visual balance and consistency throughout the necklace. Use a bead stopper to keep beads from slipping off the wire as you work, especially with longer designs. Remember to leave about one inch of excess wire at the end for attaching the clasp later.
Follow these key steps in this beaded necklace tutorial:
- String beads carefully following your pattern to achieve a balanced look.
- Thread a crimp bead and clasp onto the excess wire at the end of the wire.
- Pass the wire back through the crimp bead and tighten it to secure the loop.
Trim any wire close to the beads for a neat finish before moving on.
Attaching the Clasp and Finishing Touches
When you’re ready to secure your necklace, thread a crimp bead and clasp onto one end of the wire, then loop the wire back through the crimp bead to form a secure connection. Make sure the lobster clasp can move slightly before tightening the loop. Use chain-nose pliers to flatten the crimp bead firmly, locking it in place. Slide the beads up to meet the crimp bead and trim the excess wire, leaving about 10cm on the other end. Next, thread another crimp bead and a jump ring onto this end. Adjust the beads evenly, then secure the crimp bead with pliers. For a polished look, consider adding crimp covers over the crimp beads to neatly finish your necklace.
Tips for Refining and Personalizing Your Necklace
Creativity plays an essential role in refining and personalizing your necklace to make it truly yours. After stringing your beads, take time to enhance the look and feel by focusing on details. To create a polished finish, slide the wire through the crimp and add crimp covers to hide gaps around crimp beads. You can also personalize your necklace by incorporating unique charms or focal beads that reflect your style. Experiment with bead arrangements and colors to boost visual appeal. Consider these tips:
Enhance your necklace with thoughtful details and unique charms to create a polished, personalized masterpiece.
- Use bead spacers or decorative separators to add texture and depth.
- Check balance and symmetry regularly for harmonious design.
- Mix contrasting or monochromatic palettes for dynamic effects.
These steps will help turn your beaded necklace into a standout, customized piece.
Frequently Asked Questions
How to Make a Bead Necklace for Beginners?
Start by choosing beads you love.
Then, string them onto beading wire.
Secure each end with crimps and a clasp.
Don’t rush—lay out your design first.
Use pliers to tighten everything neatly.
How to Do a Necklace With Beads?
You’ll start by choosing beads and measuring your desired length.
String the beads evenly on wire, secure the ends with crimp beads, and attach a clasp.
Then, trim the excess wire.
Your necklace will look polished and secure!
What Materials Do You Need to Make a Beaded Necklace?
Imagine a rainbow in your hands—you’ll need colorful seed beads, focal beads like pearls,
durable beading wire, crimp beads, clasps, and tools like pliers and wire cutters to weave your vibrant necklace masterpiece.
How to Bead for Beginners?
Start by choosing beads you like. Then arrange them on a bead board to plan your design.
Cut extra wire and string beads carefully. Secure everything with crimp beads and clasps.
Keep adjusting for balance as you go. Enjoy the process!
Conclusion
Now that you’ve learned how to make necklaces with beads, isn’t it exciting to think about all the unique designs you can create?
With your supplies ready and a bit of practice, you’ll be crafting beautiful, personalized pieces in no time.
Don’t forget to experiment with colors and patterns to make each necklace truly yours.
So, why wait? Grab your beads and start turning your ideas into wearable art today!
In conclusion, making necklaces with beads opens up a world of creativity.
Whether you’re designing for yourself or as a gift, each piece can reflect your personal style.
So gather those beads, let your imagination soar, and enjoy the process of creating stunning, one-of-a-kind jewelry!