How to Create Your Own DIY Anklet
To create your own DIY anklet, start by measuring your ankle with a flexible tape.
Add an inch or two for comfort.
Next, choose a sturdy cord or string that complements your style.
Then, design your bead pattern by laying out the colors and shapes you like.
Thread the beads onto the cord, ensuring to tie secure knots.
Don’t forget to add a clasp to finish your anklet!
Simple techniques will help you craft a personalized piece that’s just right for you.
Keep exploring to discover helpful tips for a perfect fit and unique style.
This DIY anklet project is not only fun but also a great way to express your creativity.
So gather your materials and let your imagination flow!
Key Takeaways
- Measure your ankle with a flexible tape, adding 1-2 inches for comfort and note the length before cutting your string or cord.
- Choose beads in various colors, shapes, and sizes, and arrange them to create a balanced and appealing pattern before stringing.
- Use a strong, flexible cord like nylon or elastic, cutting extra length for knots and securely thread the beads onto it.
- Tie sturdy double knots at both ends of the cord, applying clear glue on knots to prevent slipping and ensure durability.
- Attach a clasp using jump rings, add charms or decorative beads near the clasp, and test the anklet for comfort and security.
Materials Needed for Your DIY Anklet
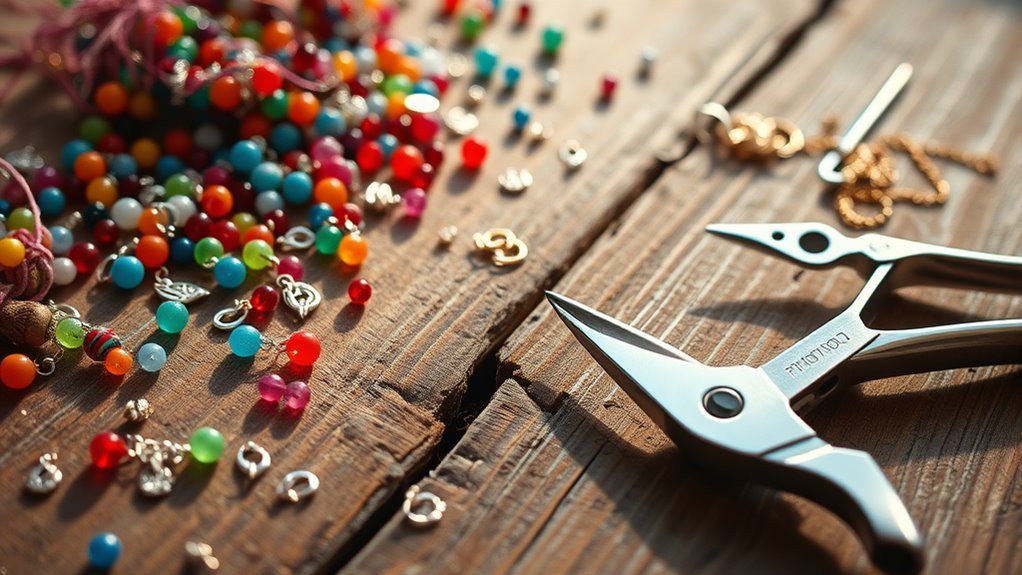
Before you start crafting your DIY anklet, gather all the essential materials to guarantee a smooth process. You’ll need beads in various shapes, sizes, and colors to match your style. Pick a strong string or cord, like nylon or elastic, so your anklet lasts through daily wear. Don’t forget scissors to cut the string to the right length and clasps to secure your anklet. Adding charms or pendants can give your piece a unique look and personal meaning. While you’re not measuring yet, having a ruler or measuring tape nearby is helpful to prepare for the next steps. Collecting these materials beforehand assures you’re ready to create a stylish and durable anklet you’ll love wearing.
Measuring and Preparing Your Anklet Base

Start by measuring your ankle with a flexible tape, adding an inch or two for comfort and closure.
Next, choose a durable cord or chain that fits your style and the beads you plan to use.
Finally, prepare your base components and test the length to guarantee a perfect fit before assembling.
Measuring Your Ankle
Measuring your ankle accurately is key to creating a comfortable DIY anklet that fits perfectly. Start by wrapping a soft measuring tape around the narrowest part of your ankle, making certain it’s snug but not tight. If you don’t have a tape, use a string or thin ribbon, mark where it meets, then measure that length with a ruler. Remember to add 1-2 inches for comfort and to accommodate your clasp or fastening.
Here’s a quick guide:
- Measure your ankle at different times to account for swelling.
- Use a soft tape or string for accuracy.
- Write down the final measurement before cutting your base material.
Taking these steps guarantees your anklet will feel just right.
Choosing Anklet Materials
Once you’ve got your ankle measurement down, you can pick the materials that will bring your anklet to life. Use a flexible measuring tape or a string to get a snug, comfortable fit. Choose jewelry-making materials like beads, cords, or chains that offer both durability and style. When selecting cords or chains, aim for a thickness between 0.5mm and 1mm to balance flexibility with sturdiness. Cut your cord or chain to the length of your ankle measurement, adding a few extra inches for knots or closures. Don’t forget to pick closures like lobster clasps or adjustable sliders to keep your anklet secure and comfortable. By carefully choosing and preparing these materials, you’ll guarantee a perfect fit and a stylish finished piece.
Preparing Base Components
Before assembling your anklet, you’ll need to prepare the base components carefully to guarantee a comfortable fit and a polished look. Start by measuring your ankle with a flexible tape or string, adding 1-2 inches for comfort and closure. Next, select a durable, skin-friendly base material like nylon cord, elastic thread, or chain. Finally, cut your chosen material to the right length, considering extra space for beads or charms.
Here’s a quick checklist to get started:
- Measure your ankle and add extra length for comfort and clasp.
- Choose a base material that matches your style and feels comfortable.
- Cut the material, factoring in added length for decorative elements.
With these steps done, you’re ready to move on to assembling your anklet.
Designing Your Bead Pattern
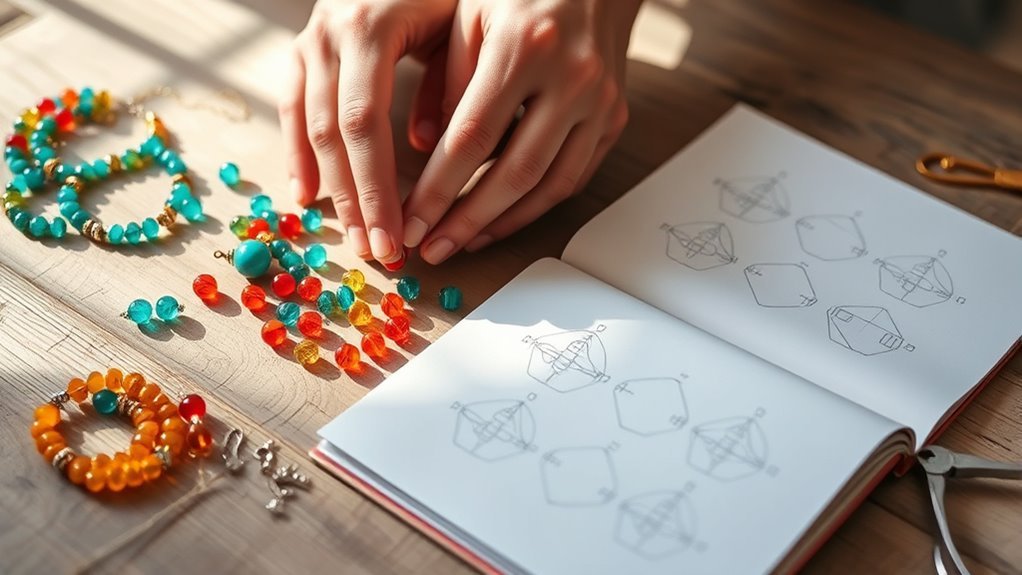
Start by picking color combinations that match your style to set the tone for your anklet.
Then, arrange different bead shapes and sizes to create a balanced and interesting pattern.
Laying out your beads before stringing helps you visualize the final look and make adjustments easily.
Choosing Color Combinations
Choosing the right color combinations for your anklet can make all the difference in its overall appeal. To create a visually harmonious design, you can use a color wheel to pick complementary or analogous colors. Keep your palette limited to three to five colors to guarantee your anklet looks cohesive and balanced. Don’t forget to reflect on the emotional impact of colors—for example, blue brings calmness, while red adds energy.
Here are three tips to guide your choices:
- Mix matte and shiny beads to add texture and depth.
- Experiment with patterns like alternating colors or gradients for uniqueness.
- Use the color wheel to find pairs that naturally work well together.
This approach helps your anklet stand out beautifully.
Arranging Bead Shapes
Now that you’ve picked your color combinations, it’s time to focus on arranging bead shapes to bring your anklet design to life. Start by experimenting with different shapes like round, square, or teardrop beads to add visual interest. Lay your beads out on a flat surface so you can see the pattern clearly and make adjustments as needed. Don’t forget to include spacer beads between larger ones to keep them from clustering and to create a balanced look. Keep in mind the size and weight of your beads—heavier beads need stronger stringing materials to stay secure and comfortable. By planning your design carefully, you’ll create an anklet that’s both stylish and well-constructed.
Threading and Securing the Beads
To thread and secure your beads effectively, pick a strong, flexible cord like nylon or elastic that’ll hold up well and stay comfortable on your ankle. First, measure the cord by wrapping it around your ankle, adding a few extra inches for tying knots. Next, thread your beads onto the cord, leaving enough space at both ends to tie knots without crowding your design. Finally, secure the beads by tying a sturdy double knot at each end to prevent slipping. For extra hold, you can add a drop of clear glue on the knots once they’re tight. Follow these steps to guarantee your anklet stays beautiful and durable:
- Measure and cut your cord with extra length
- Thread beads, leaving space for knots
- Tie double knots and apply glue for security
Adding Clasps and Finishing Touches
Once your beads are securely threaded and knotted, you can focus on adding clasps to complete your anklet. Start by measuring the desired length, leaving extra room for the clasp’s attachment points. Choose a clasp style that complements your design—lobster or toggle clasps work well and are sturdy enough for daily wear. Use jump rings to connect the clasp to the anklet, and close them tightly with pliers to prevent them from opening. For a polished look, add decorative beads or charms near the clasp area. Finally, test the anklet to verify it fits comfortably and stays secure. Make any needed adjustments before wearing your beautiful, finished piece.
Tips for Wearing and Caring for Your Anklet
Although your anklet looks stunning fresh off your workbench, proper care and mindful wearing will keep it looking great longer. To protect your creation, follow these simple tips:
- Store your anklet in a soft pouch or jewelry box when not wearing it to prevent tangling and damage.
- Choose hypoallergenic materials if you have sensitive skin and avoid exposure to lotions, perfumes, or harsh chemicals that can discolor or damage the anklet.
- Clean your anklet regularly with a soft cloth, especially after physical activity, and check beads or charms for loose parts to avoid losing any pieces.
Frequently Asked Questions
What Does God Say About Anklets?
God doesn’t specifically mention anklets, but He values your inner beauty and character more than outward adornments.
You should focus on your heart and actions, knowing jewelry is secondary to the qualities you cultivate within.
What Is the Best Material for an Anklet?
You might think metal’s best, but wait—leather’s durability and style could surprise you.
If comfort and adjustability matter, string or beads might win.
It really depends on your style and how you plan to wear it.
Can a Bracelet Fit as an Anklet?
Yes, your bracelet can fit as an anklet if it’s long enough to wrap comfortably around your ankle.
Just make sure it’s secure, flexible, and suits your style.
Or consider adding extenders for a perfect fit.
How to Make Your Own Bracelets at Home?
Imagine Sarah crafting a vibrant friendship bracelet.
You just pick beads, measure your wrist, string them tightly, and secure with a knot or clasp.
You’ll love personalizing it with colors or charms that show your style!
Conclusion
Now that you’ve crafted your unique anklet, you’re ready to show off a style as timeless as a pocket watch in a smartphone world.
Remember to wear it proudly and care for it gently to keep its charm shining bright.
With your creativity and a little care, your DIY anklet will be a standout accessory for any occasion.
So go ahead, step out confidently, and let your handmade anklet tell your story!
—
Your anklet is not just an accessory; it’s an expression of your personality.
By taking the time to create it, you’ve added a personal touch that truly reflects who you are.
So, wear it with pride and keep it well-maintained.
With some simple care, your DIY anklet can shine on through every event.
Embrace your creativity and let your unique anklet be a conversation starter wherever you go!